Contents:
- Understanding Your Hair Straightener
- Preparing Your Hair Before Straightening
- Wash and Dry Properly
- Apply a Heat Protectant
- How to Straighten Hair With a Straightener: Step-by-Step
- Section Your Hair
- Choose the Right Temperature
- The Straightening Motion
- Pass Through Each Section Once (Usually)
- Advanced Techniques for Different Hair Types
- Straightening Curly Hair
- Straightening Wavy Hair
- Straightening Fine or Damaged Hair
- Common Mistakes to Avoid
- What the Pros Know
- Aftercare for Straightened Hair
- Cool the Hair
- Use a Smoothing Serum
- Avoid Water for a Few Hours
- Sleep Properly
- Maintaining Your Straightener
- Frequently Asked Questions
- How often can I straighten my hair safely?
- Will straightening damage my hair permanently?
- What’s the best straightener for beginner users?
- Can I straighten my hair if it’s coloured?
- Why does my straightened hair go frizzy after a few hours?
- Should I straighten my hair the same way every time?
- Final Thoughts: Making Straightening a Sustainable Habit
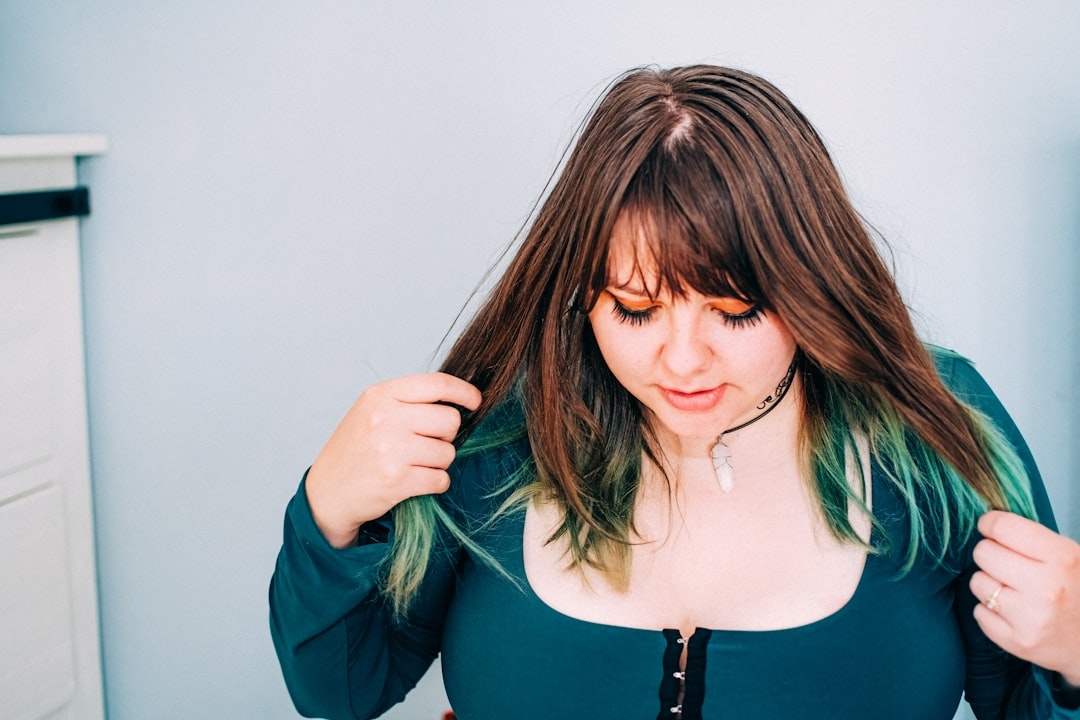
Have you ever wondered why your hair straightener sometimes leaves your locks looking sleek and polished, while other attempts result in frizz and damage? The difference often comes down to understanding a few key techniques rather than having naturally straight hair to begin with.
Straightening hair is an art that millions of people master every single day, from those with stubborn curls to wavy-haired folk seeking a temporary change. Whether you’re preparing for an important event or simply fancy switching up your look, knowing how to straighten hair with a straightener can transform your styling routine. This guide breaks down everything you need to know—from choosing the right tool to protecting your hair from heat damage—so you can achieve professional results without leaving your bathroom.
Understanding Your Hair Straightener
Before you even switch on your straightener, it helps to understand what you’re actually holding. A hair straightener, also called a flat iron or hair iron, works by using heat and pressure to temporarily reshape the hydrogen bonds in your hair shaft. Most modern straighteners heat between 120°C and 230°C, though not all hair types require maximum temperature.
Straighteners come in different sizes and materials. Ceramic plates are the most common choice because they heat evenly and reduce frizz. Titanium plates heat faster and are more durable, making them ideal for thick or coarse hair. Tourmaline-coated plates emit negative ions that can help seal the hair cuticle, leaving your hair shinier.
The width of your straightener matters too. Standard plates measure about 25-30mm across, perfect for shoulder-length or longer hair. Narrower plates (under 20mm) work better for short hair or detailed work. Wider plates (over 30mm) speed up the process for those with very thick hair. Choosing the right straightener isn’t just about brand name—it’s about matching the tool to your specific hair type and thickness.
Preparing Your Hair Before Straightening
The secret to successful straightening starts before the heat ever touches your hair. Preparation determines whether you end up with sleek, healthy-looking hair or a damaged, over-processed mess.
Wash and Dry Properly
Always start with clean, completely dry hair. Wet hair exposed to high heat can experience steam damage, leading to frizz and breakage. Shampoo with a gentle, sulfate-free formula designed for your hair type. Use a moisturising conditioner, paying special attention to the mid-lengths and ends. Towel dry thoroughly, removing excess moisture without rough scrubbing.
Use a blow dryer to dry your hair completely. This step isn’t optional—even damp hair won’t straighten evenly. Aim for 95-100% dryness. Blow drying in the direction of your hair growth helps smooth the cuticle, which makes straightening easier and more effective. This process typically takes 15-20 minutes depending on hair thickness.
Apply a Heat Protectant
This step separates amateur results from professional ones. A heat protectant spray or serum creates a barrier between your hair and the heat source, reducing damage by up to 50%. Apply the product to damp hair before blow drying, or spritz dry hair just before straightening. Look for products containing silicones, proteins, or plant-based oils. Popular affordable options in the UK market range from £4.99 to £12.99.
Don’t skip this step thinking it will weigh your hair down. Quality heat protectants are formulated to add minimal weight while delivering maximum protection. Brands like Arganicare and Cantu offer excellent value at budget-friendly prices.
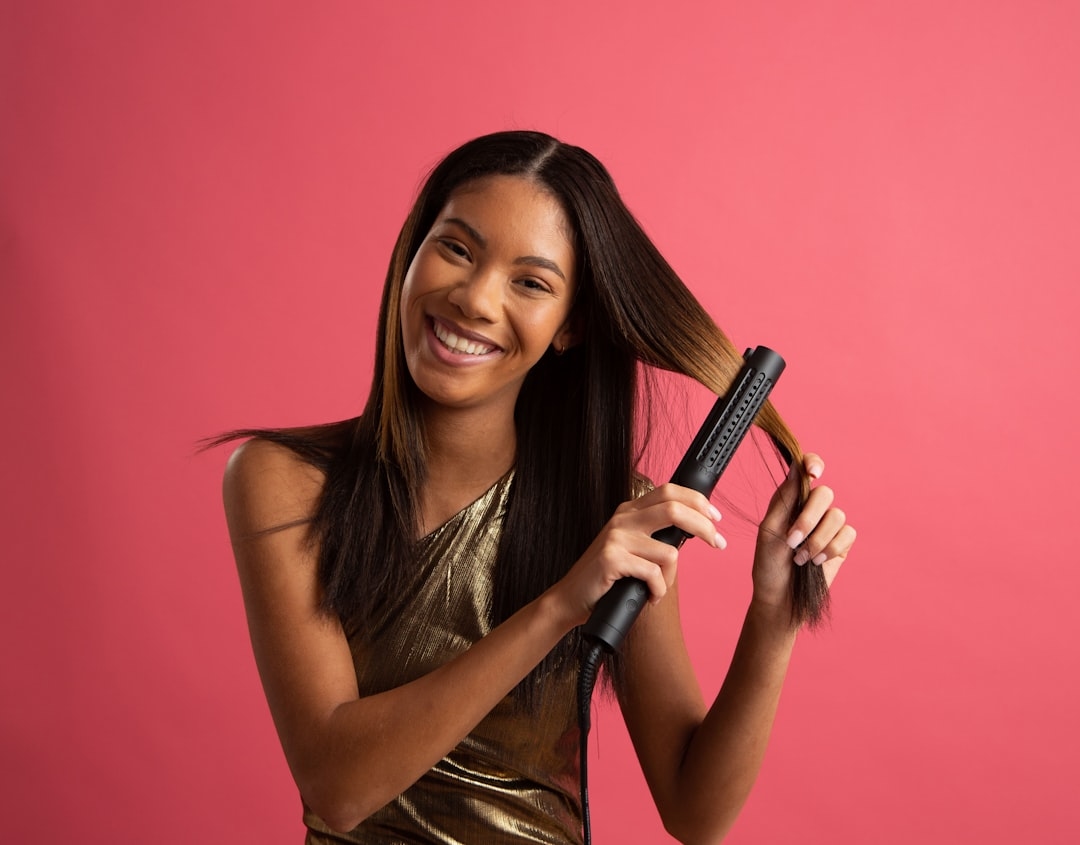
How to Straighten Hair With a Straightener: Step-by-Step
Now for the actual technique of straightening hair with your straightener. This process requires patience and precision, but becomes automatic with practice.
Section Your Hair
Divide your hair into 4-6 manageable sections using clips. Start by creating a horizontal parting across the back of your head from ear to ear. Clip the top section away. Divide the bottom into left and right sides. The smaller your sections, the better your results. Each section should be roughly the thickness of your straightener’s width.
Choose the Right Temperature
Temperature depends entirely on your hair type. Fine or damaged hair needs 140-160°C. Normal, healthy hair suits 160-180°C. Thick, coarse, or textured hair might require 180-220°C. Never go above 230°C, even for the thickest hair—higher temperatures don’t straighten better; they simply cause more damage.
If you’re unsure, start low and increase gradually. Your straightener should glide smoothly through your hair without sizzling or popping, which indicates excessive heat damage.
The Straightening Motion
Place your straightener at the roots of a small section, holding it parallel to the ground. Clamp down gently—not so tight you’re pulling hair out, but firm enough that the plates contact the hair fully. Slowly move the straightener down the hair shaft towards the ends in one smooth motion. This typically takes 2-3 seconds per section. Speed matters: moving too quickly won’t straighten properly, while moving too slowly risks heat damage.
Work through one small section completely before moving to the next. Don’t try to straighten your entire head in haphazard passes—precision and consistency produce the best results.
Pass Through Each Section Once (Usually)
Most hair types straighten beautifully in a single pass. Repeat passes are unnecessary and increase damage risk. If a section doesn’t straighten fully, check your temperature setting or wait 30 seconds for the straightener to reheat fully. Never run the straightener over the same section of hair multiple times in quick succession.
Advanced Techniques for Different Hair Types
Straightening Curly Hair
Curly hair requires extra care because the curl pattern means hair is more porous and vulnerable to damage. Use the lowest effective temperature—usually 160-180°C. Work with very small sections (quarter-inch width). Consider doing a strand test first: straighten a small hidden section to check for damage before committing to your whole head.
Curly hair benefits enormously from multiple applications of heat protectant. Apply once before blow drying, then again before straightening. The moisture content in curly hair means it rehydrates faster, so straightness may not last as long as it does for naturally straighter hair types.
Straightening Wavy Hair
Wavy hair usually straightens more easily than curly hair but differently from naturally straight hair. Medium temperature settings (160-180°C) work well. You might achieve results in fewer passes because waves don’t require as much heat force as curls.
Wavy hair tends to spring back slightly after straightening, which is normal. For longer-lasting straightness, ensure your hair is completely dry before straightening, and consider a lightweight smoothing serum after straightening to prevent moisture reactivating the wave pattern.
Straightening Fine or Damaged Hair
Fine hair needs gentler handling than thick hair. Use temperatures no higher than 160°C. Thinner sections (smaller than you’d normally use) help prevent accidental overheating of delicate strands. Be especially careful not to clamp too tightly, as fine hair breaks more easily under pressure.
If your hair is already damaged or coloured, treat it with extra caution. Damage increases porosity, meaning heat penetrates more deeply and causes more harm. Consider spacing out straightening sessions—weekly rather than daily—and deep condition between sessions.
Common Mistakes to Avoid
Learning how to straighten hair with a straightener correctly means understanding what not to do. These mistakes plague beginners and cause the most visible damage:
- Straightening wet or damp hair—This causes steam damage that creates frizz and breakage. Always blow dry first.
- Skipping heat protectant—This is the #1 mistake that leads to damage. No exceptions.
- Using too high a temperature—Higher heat doesn’t straighten better; it just causes more damage. Match temperature to your hair type.
- Clamping too tightly—You’re not trying to wring out your hair. Gentle, even pressure works better.
- Moving the straightener too quickly—If you rush, the hair won’t straighten properly and you’ll need multiple passes, increasing damage.
- Straightening already-straight roots repeatedly—Focus on the mid-lengths and ends where texture exists. Your roots are already straight.
- Ignoring buildup—Product buildup on straightener plates reduces heat transfer. Clean your straightener every 1-2 weeks.
- Straightening every single day—Even healthy hair needs recovery time. Limit straightening to 2-3 times weekly maximum.
What the Pros Know
Professional hairstylist tip from Marcus Chen, certified trichologist at London Hair Academy (2026): “The secret professional stylists don’t advertise is that straightening is as much about the preparation as the technique. I spend 40% of my straightening time on preparation—washing, conditioning, and blow drying—and only 40% actually straightening. The remaining 20% is finishing touches. Most home users reverse this ratio, which is why they get inferior results. They rush preparation to spend more time straightening, which actually causes more problems than it solves.”
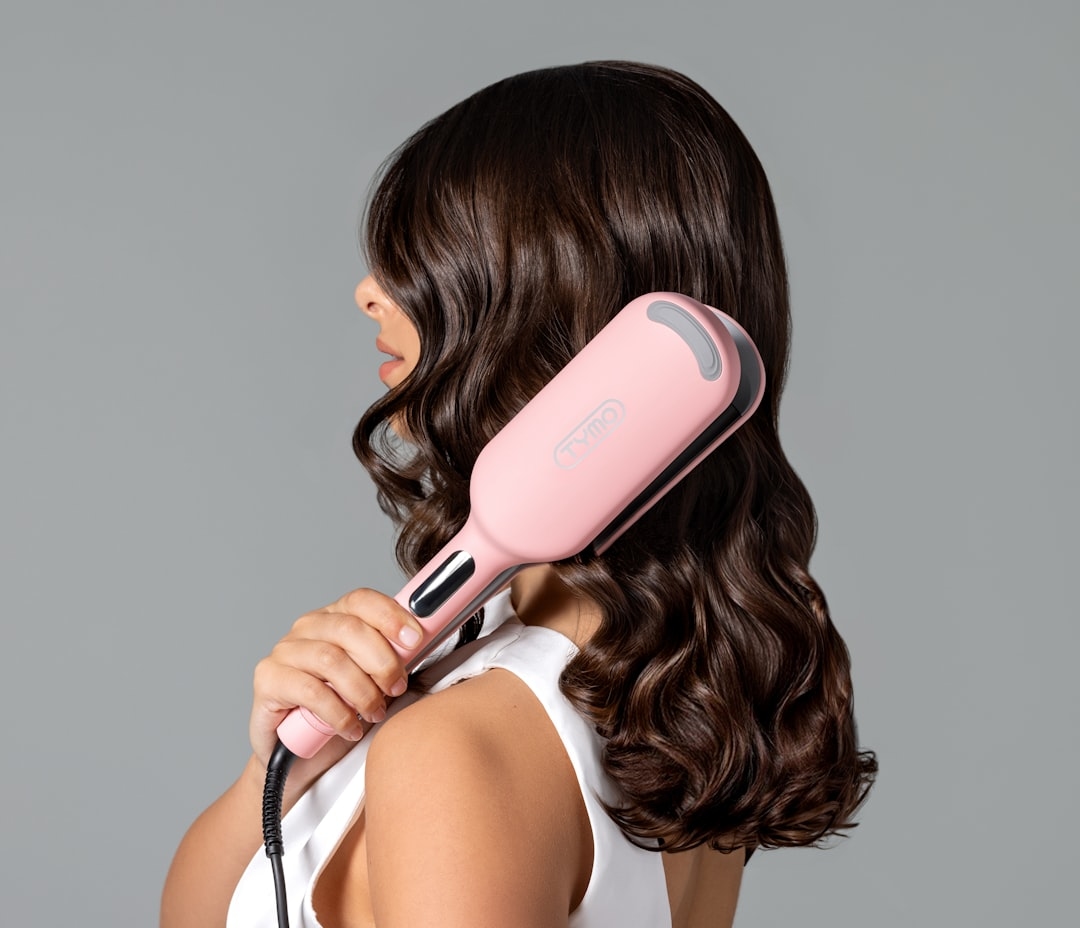
Aftercare for Straightened Hair
Straightening isn’t complete once you put down the straightener. Aftercare protects your results and maintains hair health.
Cool the Hair
Your hair is still in a “set” state immediately after straightening because the hydrogen bonds are re-forming. A cool shot from your blow dryer (or even fanning with a towel) helps those bonds set in the straight position. This adds maybe 10% extra longevity to your straightened style.
Use a Smoothing Serum
Apply a silicone-based smoothing serum or hair oil to damp mid-lengths and ends, never the roots. This seals the cuticle, adds shine, and protects against moisture reactivating wave patterns. Budget options like coconut oil (pure, not cooking oil) work in a pinch, though dedicated smoothing serums tend to feel lighter.
Avoid Water for a Few Hours
Humidity and water reactivate the wave pattern in straightened hair. Avoid washing for at least 24-48 hours after straightening. If you must get your hair wet, apply products to protect it from rehydrating too quickly.
Sleep Properly
Sleeping on cotton pillowcases creates friction that damages hair and disturbs straightness. Silk or satin pillowcases cost £8-20 and preserve straightness far better. Alternatively, sleep with your hair in a loose, high bun to minimise contact with the pillow.
Maintaining Your Straightener
Your straightener needs maintenance to work effectively and safely. Every 1-2 weeks, unplug and allow it to cool completely. Dampen a microfibre cloth with a 50/50 mixture of water and white vinegar, then gently wipe the plates. This removes product buildup. For stubborn buildup, let the vinegar solution sit on the plates for 2-3 minutes before wiping.
Never use abrasive scrubbers or harsh chemicals on the plates, as these damage the coating. Check your straightener’s power cord regularly for damage. Most straighteners last 3-5 years with proper care, though models at the budget end (under £20) may wear out faster.
Frequently Asked Questions
How often can I straighten my hair safely?
Most hair can handle straightening 2-3 times weekly without significant damage, provided you use heat protectant and proper technique. Fine, damaged, or coloured hair benefits from less frequent straightening—once weekly or every 10 days. Your hair will tell you when it’s had enough: increased breakage, dryness, or loss of elasticity means you need longer rest periods between straightening.
Will straightening damage my hair permanently?
Straightening doesn’t permanently damage hair because hair is dead protein—it doesn’t heal or regenerate. However, repeated heat damage accumulates, making hair feel dry and brittle. The solution is deep conditioning and spacing out straightening sessions. Hair grows back undamaged at roughly 15cm every three months, so damaged ends grow out naturally.
What’s the best straightener for beginner users?
Look for straighteners with adjustable temperature settings (at least 5 heat levels), ceramic plates, and automatic shut-off after 30 minutes. Expect to spend £25-50 for a reliable beginner model. GHD and Cloud Nine are premium options (£100-150), but brands like Dyson and Revlon offer excellent value in the mid-range (£40-80). Avoid straighteners under £15, as they typically have uneven heating and poor temperature control.
Can I straighten my hair if it’s coloured?
Yes, but take extra precautions. Colour processing opens the hair cuticle, making it more porous and vulnerable to heat damage. Use lower temperatures than you’d normally use (150-170°C instead of 170-190°C). Deep condition weekly. Limit straightening to once weekly. The combination of colour and heat processing means you’ll see visible damage much faster if you don’t prioritise hair health.
Why does my straightened hair go frizzy after a few hours?
Frizz occurs when moisture from the air reactivates the wave pattern in your hair shaft. This happens faster in humid environments and if you skip the smoothing serum step. Use a hydration-locking serum or anti-frizz cream immediately after straightening. In very humid weather, you might need to reapply mid-day. Sleeping on a silk pillowcase and avoiding water also help preserve straightness longer.
Should I straighten my hair the same way every time?
Consistency helps hair health. If you straighten the same sections the same way every time, the damage is distributed evenly and your hair stays healthier overall than if you randomly straighten different sections. Try to alternate which side you start with each time to ensure both sides receive equal heat exposure. This balanced approach reduces the risk of one side becoming noticeably more damaged than the other.
Final Thoughts: Making Straightening a Sustainable Habit
Straightening your hair is entirely achievable at home when you understand the technique and prioritise preparation over speed. The straighteners available in 2026 are far more sophisticated than those from even five years ago, with better temperature control and faster heat-up times. This means fewer excuses for overheating or uneven straightening.
Start with the fundamentals: a quality straightener matched to your hair type, thorough preparation including heat protectant, and proper aftercare. Practice your technique on a weekend when you’re not rushed. Within three or four attempts, you’ll develop muscle memory and consistency will follow naturally. Your straightening skills will improve measurably over time, and so will your results. The goal isn’t to damage your hair—it’s to temporarily reshape it beautifully while keeping it healthy for years to come.
Ready to transform your styling routine? Pick up a quality straightener, grab a heat protectant spray, and commit to one session this week where you focus on technique rather than speed. The difference will be immediately noticeable.